
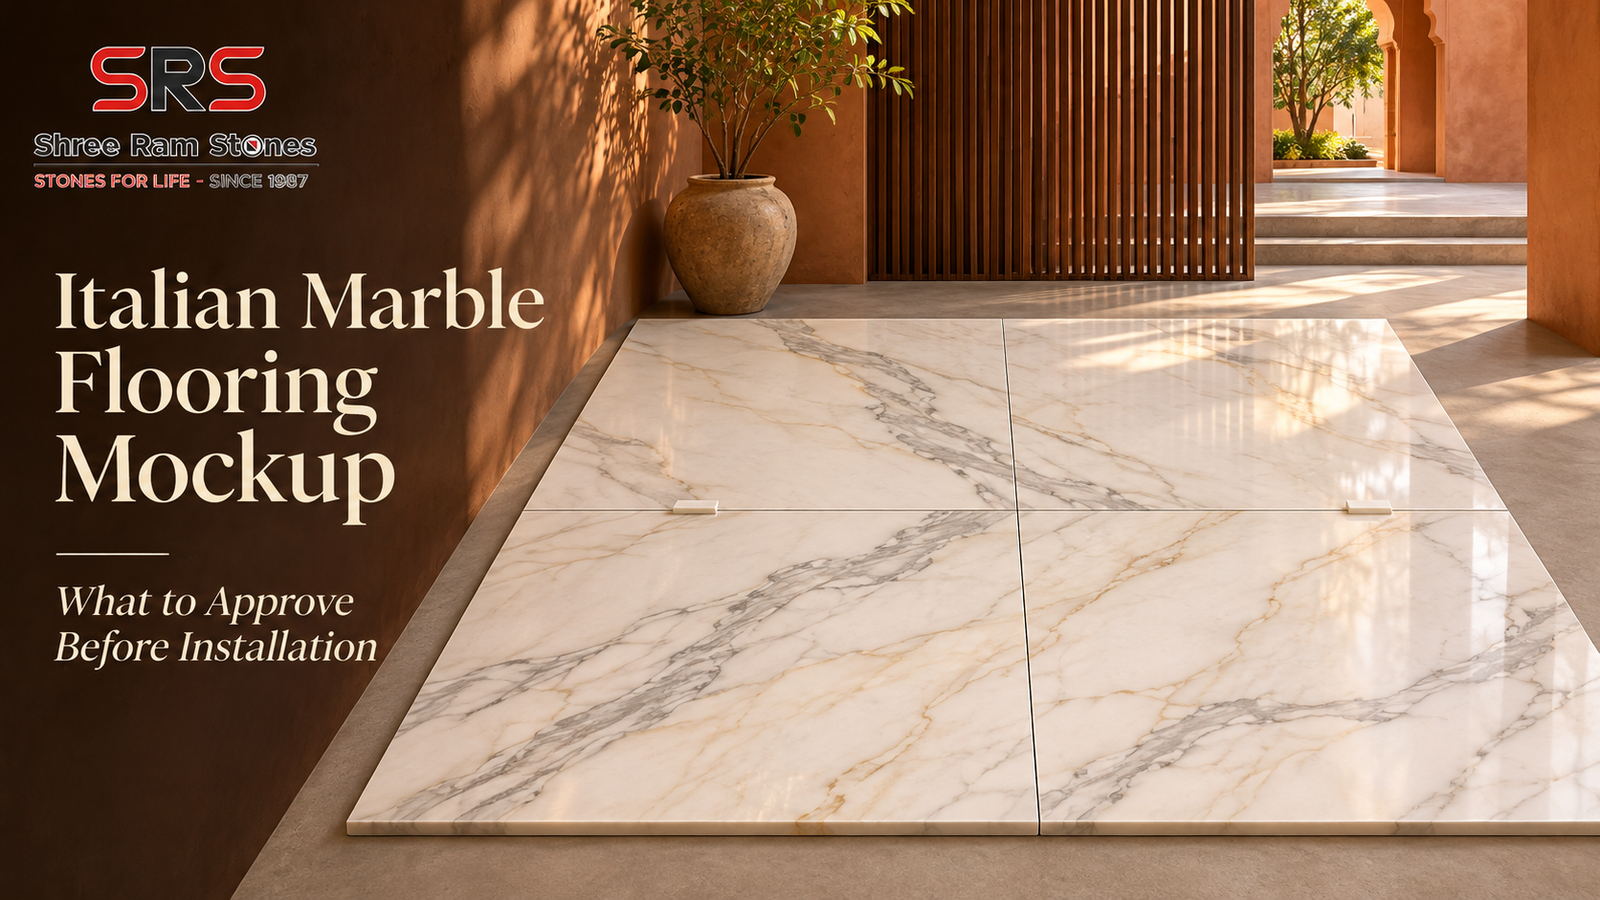
Italian Marble Flooring Mockup – What to Approve Before Installation
An Italian marble flooring mockup lets you review the actual stone, joint pattern, and finish before installation begins. Start by choosing a representative area, such as the main entrance or a living room corner with a doorway. Then ask your installer to lay out pieces from the selected lot in their planned positions. For finish approval, review a small installed sample that includes a joint and a finished edge.
1. Approve the Marble Lot and Shade Range
First, check the slab numbers against the lot reserved for your project. Ask the supplier to show light, medium, and dark pieces together. Then mark which shades belong in the main room and which can go in adjoining spaces.
With bold-veined Italian Statuario Marble, check how much contrast each adjoining piece introduces. With warm-toned Italian Botticino Marble, compare subtle shifts in beige under the same light. Shree Ram Stones
2. Check Vein Direction in the Dry Layout
Next, stand at the main entrance and follow the strongest vein across the dry layout. Rotate a piece if its pattern interrupts a run you want to keep continuous. Also, check the view from the sofa, staircase, or corridor.
If your design uses bookmatching, approve the exact pair and orientation. Once you settle the arrangement, photograph it from above. Finally, ask the installer to mark each piece and its direction on the layout plan.
3. Review Joint Lines, Doorways, and Border Cuts
Then check where the first joint lands at the entrance. Ask the installer to show the proposed joint width and grout colour in the sample. Also, review the cuts beside skirting, columns, and door frames. A small layout adjustment can move a narrow cut away from a prominent doorway.
Where marble meets wood, tile, or another stone, include that transition in the mockup. Confirm the threshold detail and finished floor levels with your installer.
4. Inspect the Finish Under Daylight and Room Lighting
After that, view the installed sample in daylight and again under the room’s planned lighting. Look across the surface from a low angle to see how reflections run across the joints. Then compare the grout colour once the sample has cured.
If your contractor plans to polish the floor after laying it, request that finish on the sample. Also, examine how the polished surface meets the skirting, threshold, and any exposed edges.
5. Agree on Which Surface Features You Accept
Before signing off, review visible resin fills, pits, and repaired areas in the actual lot. Identify pieces you accept for open areas and pieces you prefer to place near walls or under furniture.
If you find a chipped edge or an open crack, mark the piece for your supplier and installer. Then record whether they should replace it or cut around the affected area. Keep photos alongside the slab or piece numbers.
6. Confirm the Cut List and Replacement Pieces
Next, compare the approved layout with the cut list. Include the flooring, borders, skirting, and thresholds in your quantity check. Also, identify cuts that need a specific slab to preserve the vein pattern.
Ask your supplier to reserve matching pieces from the same lot for replacements or future repairs. Before cutting begins, record their slab numbers and agree on where you will store them.
7. Sign Off on the Italian Marble Flooring Mockup
Finally, save the dated layout, marked slab numbers, grout reference, finish sample, and approval photos together. Note the rooms covered by the approval and any changes the installer still needs to make. Then share the same record with the supplier, designer, and site supervisor.
Frequently Asked Questions
How large should an Italian marble flooring mockup be?
Use enough pieces to show several adjoining joints, the shade range, and a representative edge or doorway.
Can I approve a marble dry layout by video call?
Yes. Ask for a continuous walkthrough showing slab numbers, close-ups, and the view from the room entrance. Then have someone on site confirm the colour and finish before final approval.
When should I approve the flooring mockup?
Approve the lot and dry layout before production cutting. Then approve the installed sample before full installation begins.
Visit Shree Ram Stones in Kishangarh
Bring your floor plan, estimated square footage, and purchase timeline when you visit. Ask to compare available lots and see adjoining slabs before you finalise your Italian marble in Kishangarh.
Shree Ram Stones
Makrana Road, RIICO Industrial Area, Khatoli, Kishangarh, Rajasthan 305801
Call or WhatsApp +91 92521 01111
Email ceo@shreeramexpo.in
Contact Shree Ram Stones